


Effective state management is a critical aspect of front-end development, particularly when working with React. There are multiple approaches to handle state in React, including utilizing state in class components, employing React hooks like useState, the Context API, or adopting Redux.
In this article, we'll explore the utilization of the Redux toolkit for state management in React.
What is Redux
Redux is a JavaScript library used with frameworks like React to manage the state (data) of your application in a predictable way.
What is Redux Toolkit
While Redux is powerful, it often involves writing a lot of boilerplate code.
Redux Toolkit is like a set of tools that makes using Redux easier for beginners. It simplifies a lot of the complex parts, so you can focus on building your app without getting bogged down by too much code. It's like a helper kit that makes learning and using Redux more accessible.
How to Get Started With Redux Toolkit
For this project, we've decided not to use create-react-app for creating your React application. Instead, we'll employ Vite along with React plugins. This decision is influenced by the fact that create-react-app is no longer recommended in the React documentation.
To start building your app, execute the following command in your terminal:
npm create vite@latest my-vite-app --template react
Navigate into your project's directory:
cd my-vite-app
npm install
npm run dev
To make use of Redux Toolkit run this code below in your terminal
npm install @reduxjs/toolkit react-redux
After running the above command and installation is complete, we then create a file with this path :
/src/redux/store.js
And then,
Import configureStore:
We import a function called configureStore from the Redux Toolkit. This function will help us create and set up our Redux store.
Create an Empty Redux Store:
We use configureStore to create a Redux store. The store is like a centralized place to manage the state of our application. Right now, it's empty because we don't have any specific data to manage yet.
Export the Redux Store:
We export the created Redux store so that we can use it in other parts of our application like you can see in the code below.
// Import configureStore from Redux Toolkit
import { configureStore } from '@reduxjs/toolkit';

// Create an empty Redux store
const store = configureStore({
  reducer: {
    // Your reducers will be added here when you have them
  },
});

// Export the Redux store
export default store;
Connect Redux Store to React
To connect redux store to your react you will have to wrap <App/> with a <Provider/> and also the store created in the store.js file will be used here.
// Import necessary dependencies
import React from 'react';
import ReactDOM from 'react-dom';
import './index.css';
import App from './App';

// Import the Redux store we created earlier
import store from '../redux/store';

// Import the Provider from react-redux
import { Provider } from 'react-redux';

// Render the app with the Redux store provided by the Provider
ReactDOM.render(
  <Provider store={store}>
    <App />
  </Provider>,
  document.getElementById('root')
);
After the store has been created, create a file src/redux/todoListSlice.js .
Then import createSlice from @redux/toolkit.
To create a slice, three essential components are needed:
Identifier (Name): This is represented as a string, this serves as a unique label.
Initial State Value: The starting point or default value from which the state evolves.
Reducer: This encompasses actions that articulate how the state undergoes modifications and updates over time.
Actions-
Redux actions consist of a payload and a type, where the payload contains data used by reducers to update the store, and the type specifies the nature of the action sent to the reducer. These actions serve as commands originating from UI elements.
Dispatch -
In Redux, think of "dispatch" as a way to make changes to your application's state. It's like sending a message to the store, asking it to update itself. When you use dispatch, the store takes your message and passes it to all the reducers you have, and these reducers figure out how the state should change based on the message. So, in simple terms, dispatch is your tool for telling Redux what changes you want to make to your app's data.
How to Create Redux State Slice
Now that we've covered the terms above, let's delve into the process of crafting our own state slice. Building a state slice helps establish a modular and maintainable architecture for your application. This not only makes it easier to understand and manage but also simplifies the process of updating your application as it expands and evolves.
import { createSlice } from '@reduxjs/toolkit';

const taskSlice = createSlice({
  name: 'tasks',
  initialState: {
    taskList: [],
  },
  reducers: {
    addTask: (state, action) => {
      state.taskList.push(
         action.payload,
      );
    },
  },
});

export const { addTask } = taskSlice.actions;
export default taskSlice.reducer;
After you've built your slice, how you export the reducers and the Redux actions is a bit special. It's because you need to export the slice first before you can use it in the store. Think of it like making sure you have all the right pieces ready before putting them into the bigger picture of your store.
How to Add Slice to Store
Grab the reducer from the slice you made and put it into the store you created earlier. This step is like fitting the final piece in a puzzle, making sure everything is set up and ready to use in your app.
import { configureStore } from '@reduxjs/toolkit';
import taskReducer from './features/todoListSlice';

const store = configureStore({
  reducer: {
    tasks: taskReducer,
  },
});

export default store;
Now that we've set up Redux Toolkit, created the store, and made our reducer, it's time to actually use the state and actions in your React components to make your app do what you want.
To do this, we'll use two special hooks: useDispatch and useSelector. useSelector helps us read data from the store, and useDispatch helps us send actions to the store.
import React from 'react'
import AddTask from '../task/add-task'
import TaskListTable from '../task/task-list'

const TodoList = () => {
  return (
    <>
      <AddTask />
      <TaskListTable/>
    </>
  )
}

export default TodoList
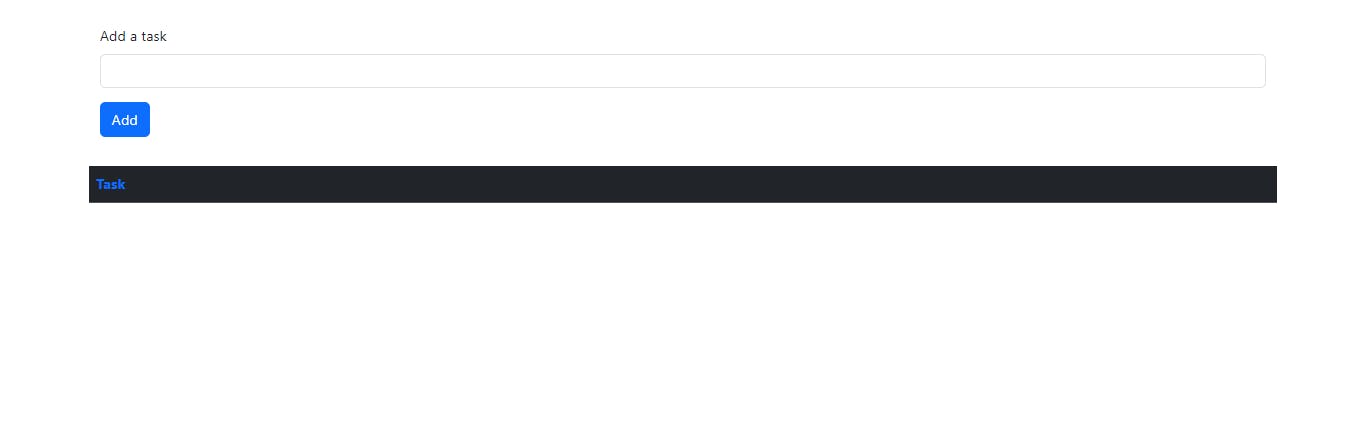
This is a simple component called <TodoList/>. It renders two components: <AddTask/> and <TaskListTable/>.
import React, { useState } from 'react'
import { useDispatch } from 'react-redux'
import { addTask } from '../../../../redux/features/todoListSlice'

const AddTask = () => {
  // Import dispatch from react-redux
  const dispatch = useDispatch()

  const [task, setTask] = useState('')

  const handleChange = (e) => {
    setTask(e.target.value)
  }

  const handleSubmit = (e) => {
    e.preventDefault()

    // Dispatch the addTask action with the task data
    dispatch(addTask({ name: task }))
  }

  return (
    <>
      <form
        id="addTaskForm"
        className="container"
        autoComplete="off"
        style={{ marginTop: '30px' }}
        onSubmit={handleSubmit}
      >
        <div className="mb-3">
          <label htmlFor="task" className="form-label">
            Add a task
          </label>

          <input
            type="text"
            className="form-control"
            id="task"
            name="task"
            value={task}
            onChange={handleChange}
          />
        </div>
        <button type="submit" className="btn btn-primary">
          Add
        </button>
      </form>
    </>
  )
}

export default AddTask
This component is a form (AddTask) that allows the user to input a task and submit it. It uses the useDispatch hook to get the dispatch function from Redux. When the user submits the form, it dispatches the addTask action with the task data.
import React from 'react'
import {useSelector } from 'react-redux'


const TaskListTable = () => {
    const taskList = useSelector((state) => state.tasks.taskList);


  return (
    <>
      <table className="table table-dark table-hover container"  style={{marginTop: "2rem", width: "100%"}}>
        <thead>
          <tr className="text-info text-primary" >
            <th className='text-primary' scope="col">Task</th>
          </tr>
        </thead>
        <tbody>
           {taskList.map((task, index) => (
             <tr key={index}>
                 <td>{task.name}</td>
               </tr>
          ))}
        </tbody>
      </table>
    </>
  )
}

export default TaskListTable
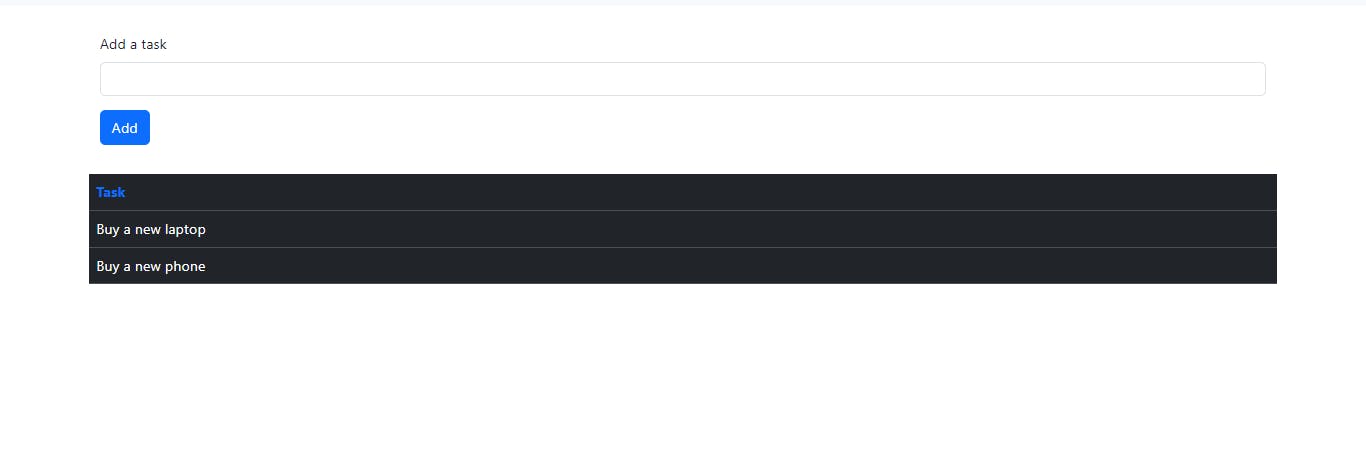
This component <TaskListTable/> displays a table of tasks. It uses the useSelector hook to get the taskList from the Redux store. It then maps through the list and displays each task in a table row.
The Outcome:
This is what you should get when you run the code steps above:
https://todolist-three-orpin.vercel.app/
Conclusion
In summary, this tutorial has provided a comprehensive guide on leveraging the Redux Toolkit for effective state management in React applications. It equipped you with the knowledge to set up a Redux store and utilize crucial hooks such as useSelector and useDispatch for seamless interaction with the store data.
To recap, the TodoList component serves as the central point, incorporating an input form (AddTask) and a table (TaskListTable) for adding and displaying tasks. The integration of useDispatch and useSelector hooks from React-Redux to commute with the Redux store, allowing you to dispatch actions and retrieve state effortlessly.
Now, with what you've learned, you should be feeling more comfortable and confident about using Redux Toolkit to handle state in your React projects.